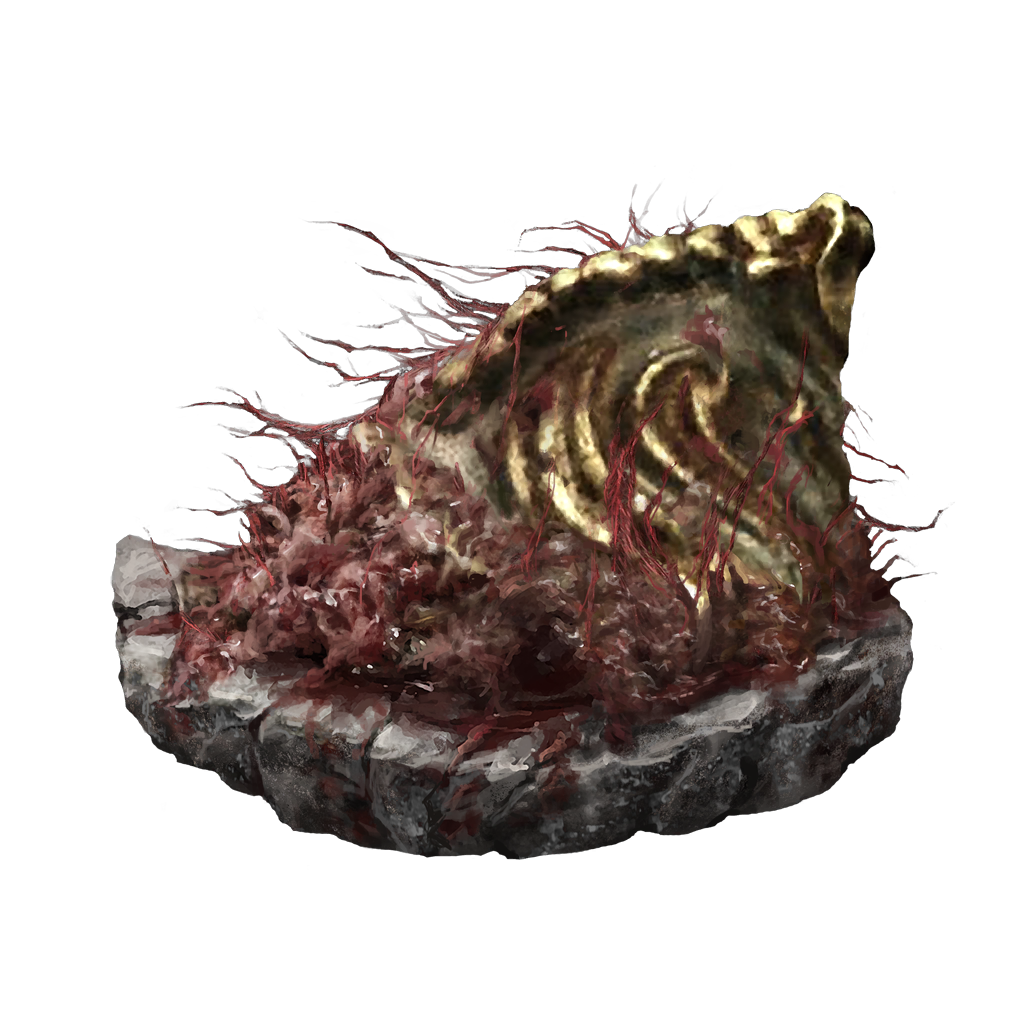
The Bloodfiend’s Arm is a new club-type weapon introduced in Elden Ring as part of the Shadow of the Erdtree DLC. The weapon is dropped by one of the Bloodfiends at Prospect Town, and there’s a good chance that you can also acquire the Bloodfiend’s Fork while you hunt for the arm. Despite the recent nerf, Bloodfiend’s Arm still reigns supreme as the best bleed building weapon in the game.
Bloodfiend’s Arm is a blood infused heavy weapon, which means even if you apply an Ash of War without the blood affinity, the weapon will still cause some amount of bloodloss build-up. So, if you’re thinking about putting together a heavy-bleed build for the DLC, you won’t have to look any further than this guide.
Bloodfiend’s Arm Requirements, Stats, & Upgrade Rating

Attribute Requirement
Level
Scaling
Strength
28
D
Dexterity
11
E
Arcane
16
D
The Bloodfiend’s Arm is a heavy club-type weapon, and it scales well with Strength and Arcane. While wielding the weapon only requires 28 Strength and 16 Arcane, to maximize its damage output and bloodloss build-up capability, you’ll need to prioritize leveling up your Arcane, followed by Strength.
Arcane will determine bloodloss build-up value, while Strength will take care of raw damage output. However, for a bleed-oriented build, you’ll be utilizing talismans that enhance your attack power when bloodloss is inflicted in your vicinity, which will further boost your raw damage output.
The Bloodfiend’s Arm can be upgraded to +25 using Smithing Stones and an 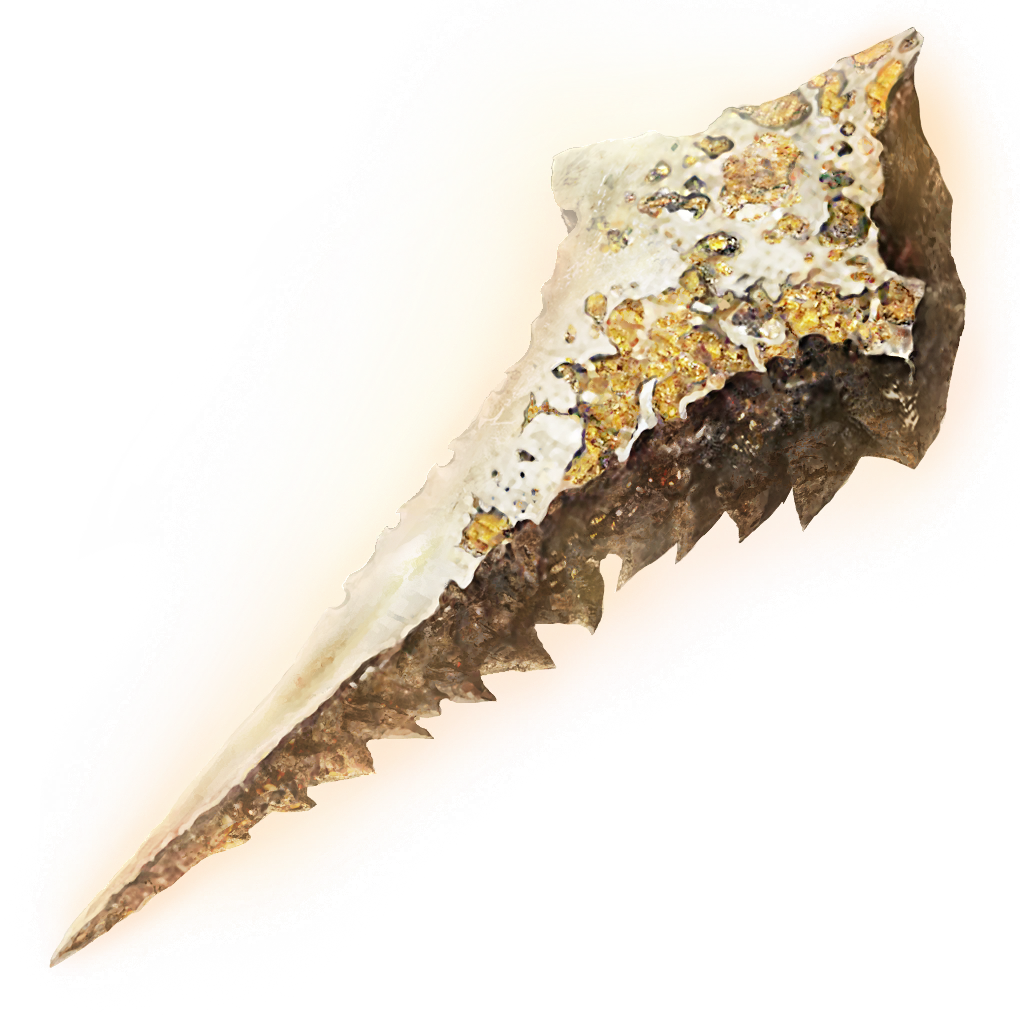 Ancient Dragon Smithing Stone , and at its max, the weapon deals 305 raw damage and 204 bloodloss buildup, with a character’s Strength at 50 and Arcane at 80.
Bloodfiend’s Arm Ash of War – Savage Lion’s Claw

The Bloodfiend’s Arm comes equipped with the common 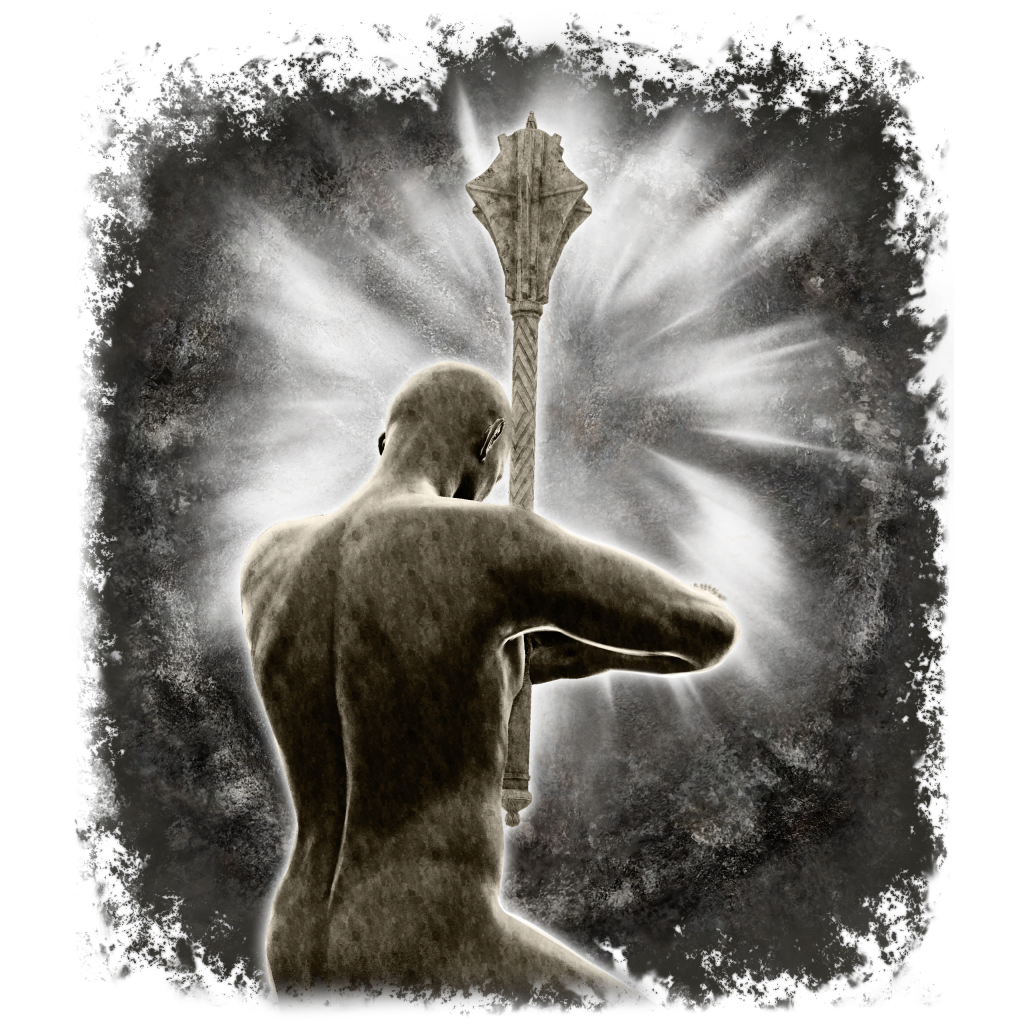 Endure Skill , which allows you to tank hits while you wind up for a heavy attack. However, to maximize your damage-dealing potential, you’ll want to replace the Endure Ash of War with the Savage Lion’s Claw Ash of War found in the DLC.
The Savage Lion’s Claw is a superior version of the 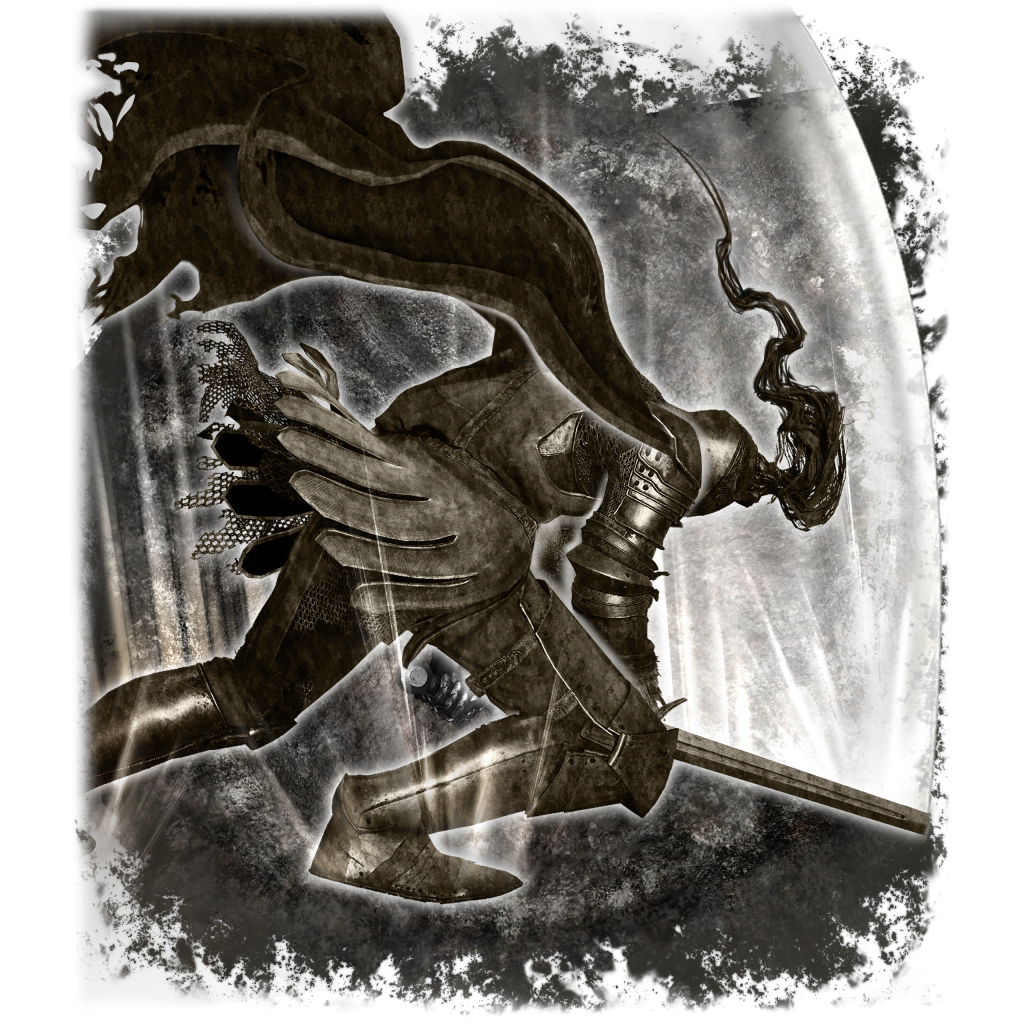 Lion’s Claw Skill Ash of War. It allows you to followup with a second Lion’s Claw slash to deal additional damage to enemies.
Savage Lion’s Claw does consume a major chunk of your stamina, but this guide takes into account the stamina-consumption effect of the Ash of War, offering an excellent way (more on that later) to enjoy unlimited stamina for a limited amount of time .
Executing the Savage Lion’s Claw skill puts you in a hyper-armor state where you cannot be knocked out of the animation, allowing you to always finish the attack.
When Infusing the Bloodfiend’s Arm with the Savage Lion’s Claw, make sure that you choose the Blood affinity to maximize the weapon’s bleed potential.
You can also consider other Ashes of War that enhance your attacks or increase your poise, like the Royal Knight’s Resolve and its default Endure Ash of War.
Best Talisman Selection For Bloodfiend’s Arm Build


Taking the Bloodfiend’s Arm build to the next level is the choice of Talismans that complement the build. Here are the six Talismans you should consider incorporating into your build.
Talisman Name
Description
 Shard of Alexander
The Shard of Alexander greatly boosts the attack power of skills (by 15%), allowing you to deal increased damage with the Savage Lion’s Claw Ash of War.
 Two-Handed Sword Talisman
The Two-Handed Sword Talisman is a DLC-specific Talisman that increases the attack power of your weapon (by 15%) when wielding it with both hands.
Lord of Blood’s Exultation
The Lord of Blood’s Exultation increases your attack power by 20% for 20 seconds when bloodloss occurs in your vicinity.
 Rotten Winged Sword Insignia
The Rotten Winged Sword Insignia Talisman increases the attack power of successive attacks by 6%, 8%, and 13%. However, if you do not attack in the next 1.5 seconds after the previous attack, the buff resets.
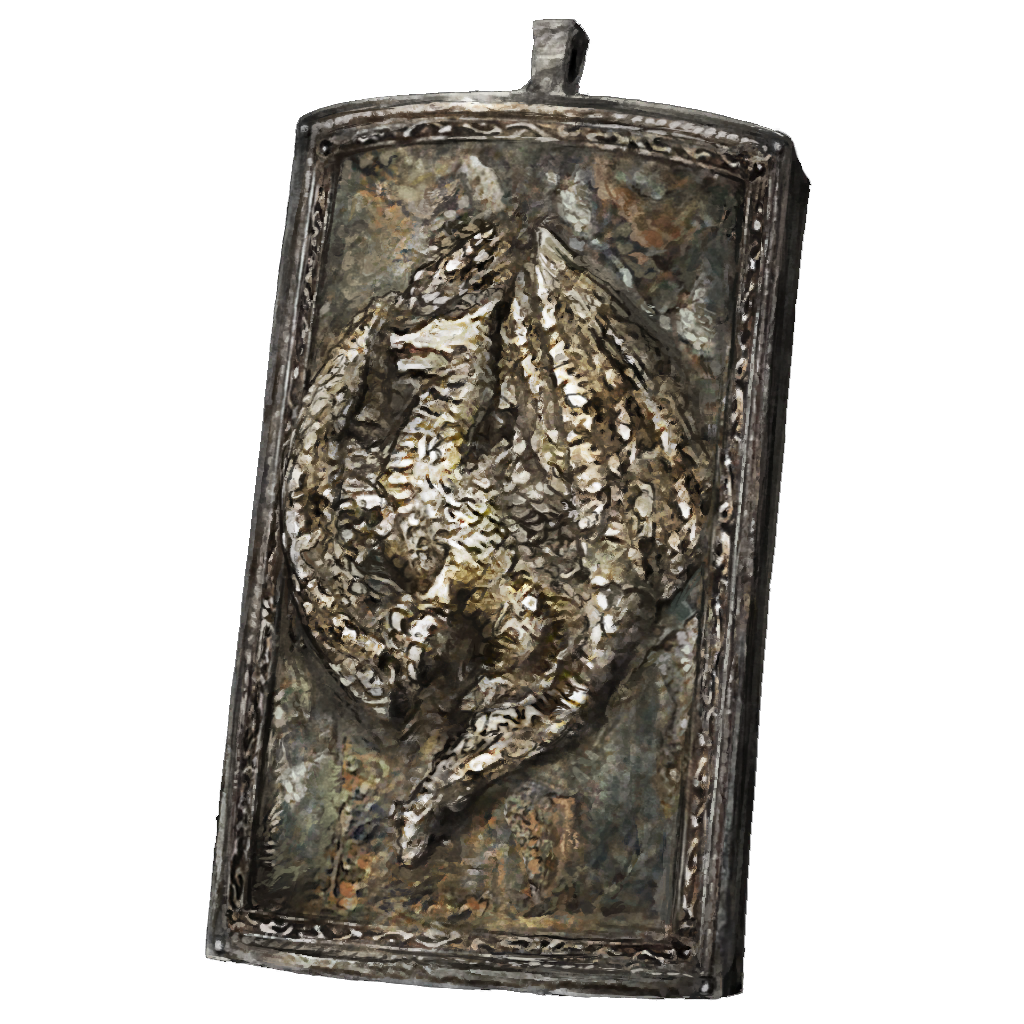 Dragoncrest Greatshield Talisman
The Dragoncrest Greatshield Talisman negates physical damage received by 20%.
Axe Talisman
The Axe Talisman increases the attack power of charged attacks by 10%.
While you’re only limited to using four Talismans at a time, the Talisman options listed above should complement multiple playstyles. For instance, if you’d like to maximize the damage of your Savage Lion’s Claw skill, you’ll need to prioritize the Shard of Alexandar Talisman, as it buffs the damage output of skills.
On the other hand, if you’d like to tank hits, the Dragoncrest Greatshield Talisman could be a viable option for damage negation properties. Similarly, if you do not wish to rely on weapon skills, the Axe Talisman can be a great choice for charged attacks.
With that being said, given that the Bloodfiend’s Arm is a blood-infused weapon, and the build itself strives to maximize bloodloss build-up, the Lord of Blood’s Exultation is a central Talisman and must always be included in the build.
A Bloodfiend’s Arm build with the Savage Lion’s Claw Ash of War would ideally include the following Talismans:
Shard of Alexander
Two-Handed Talisman
Lord of Blood’s Exultation
Rotten Winged Sword Insignia
Best Helmet & Armor For Bloodfiend’s Arm

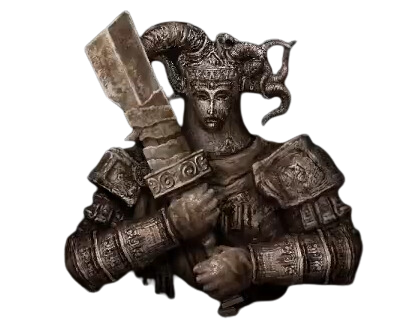
The White Mask helm from the War Surgeon set is fantastic paired with Bloodfiend’s Arm, since wearing it increases your attack power by 20% for 20 seconds when bloodloss occurs in your vicinity. This incredible effect of the 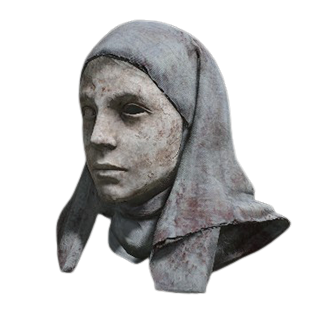 White Mask pairs well with the Bloodfiend’s Arm’s bleed build.
For the remainder of the armor set, it really depends on your playstyle: do you want the ability to mid-roll, or do you prefer high poise at the cost of heavy rolling? The following armor pieces will allow you to mid-roll while enjoying 55 poise at 30 endurance:
White Mask
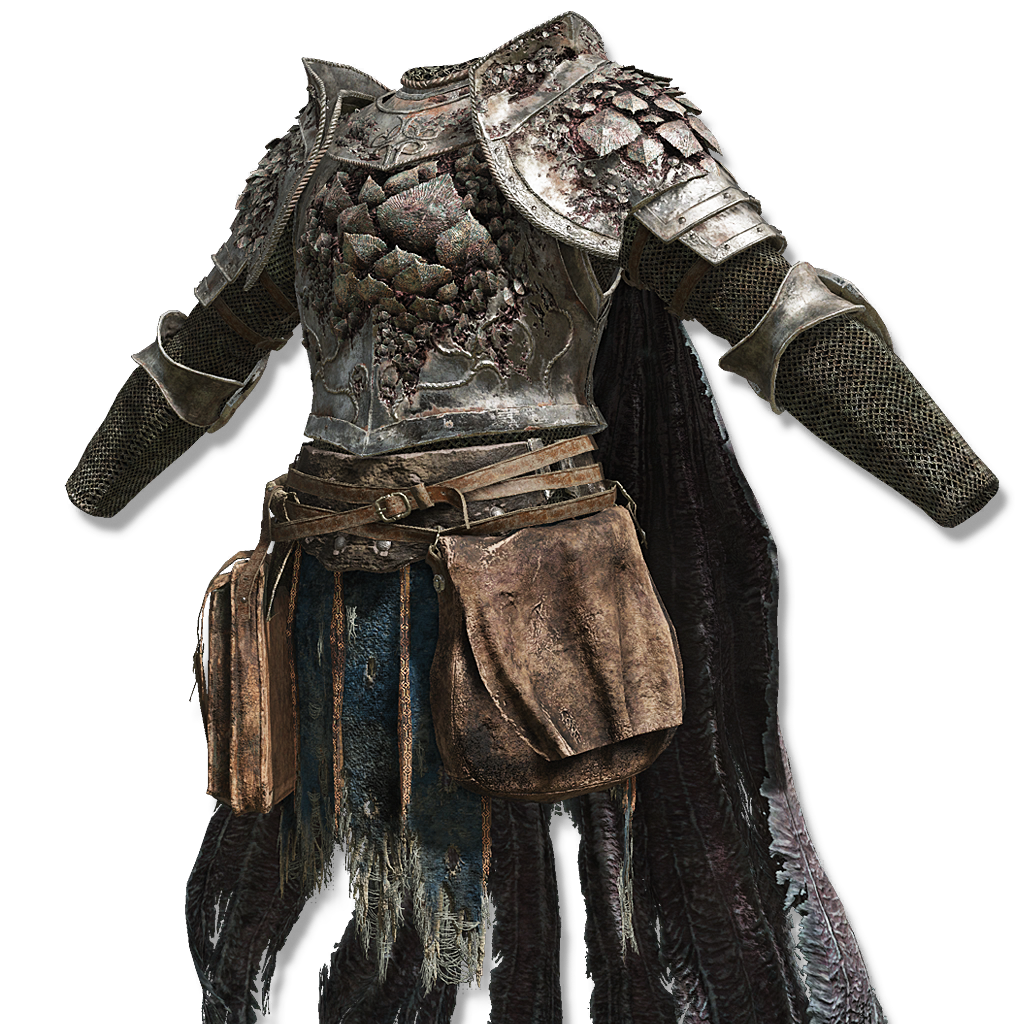 Scaled Armor
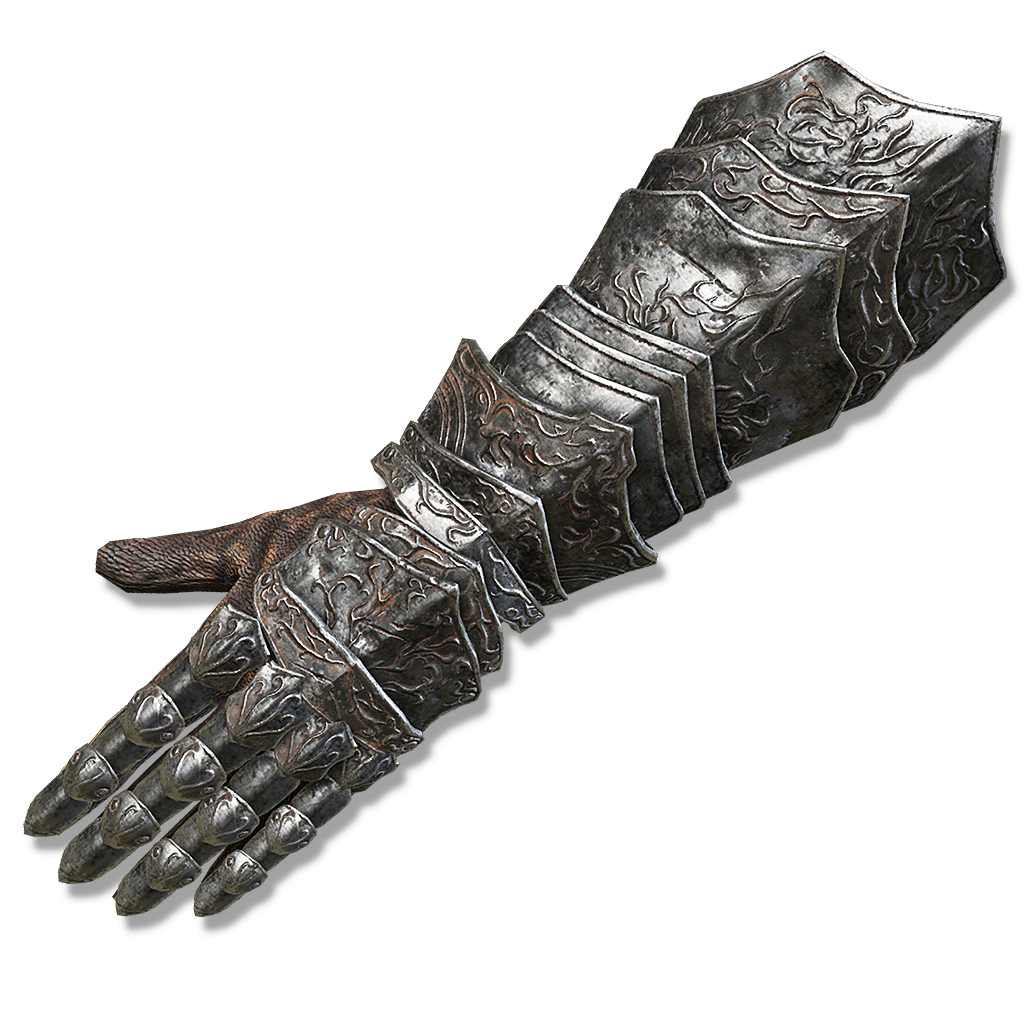 Blaidd’s Gauntlets
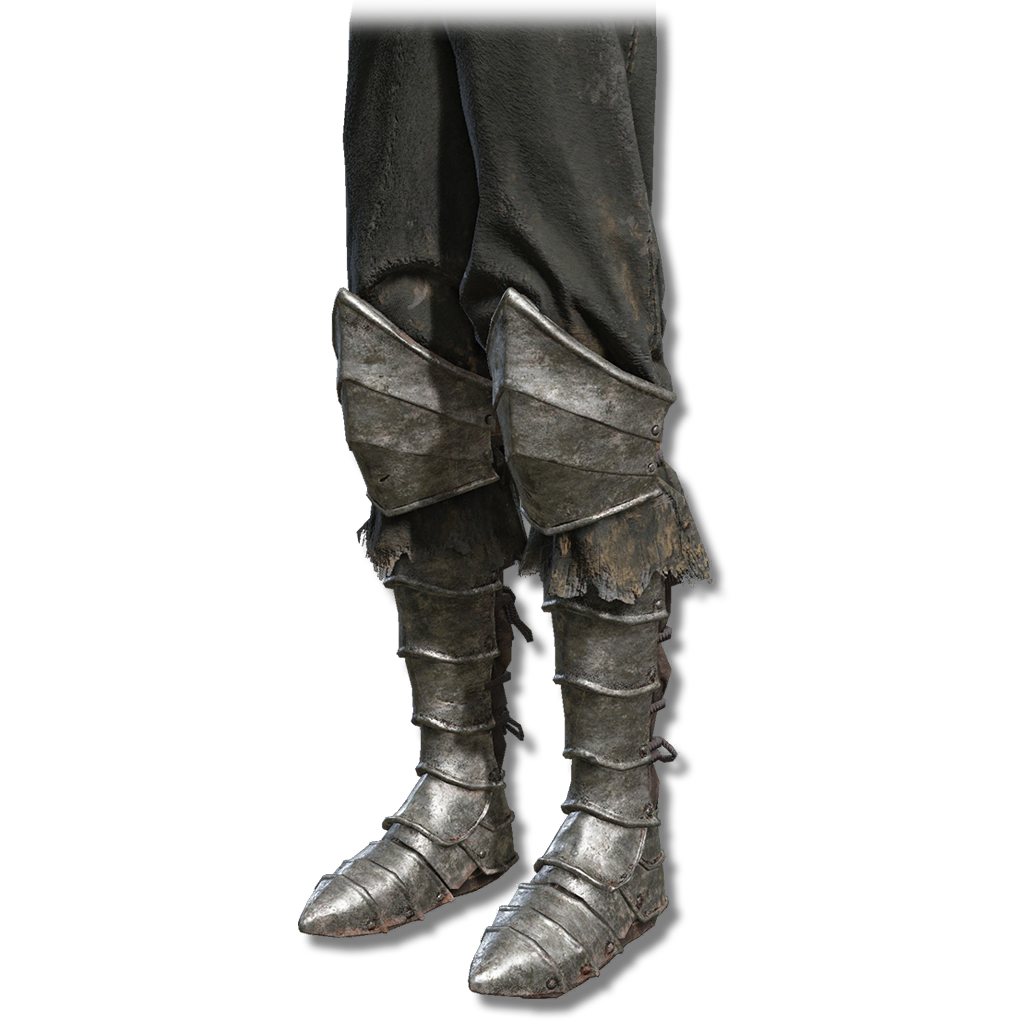 Ronin’s Greaves
Best Wondrous Flask Of Physick Tears For Bloodfiend’s Arm

The Flask of Wondrous Physick allows you to combine two tears to gain various buffs. However, a Physick flask shines when you tailor it to a specific build. For a heavy bleed build like the Bloodfiend’s Arm, you’ll want the following tears:
Tear
Description
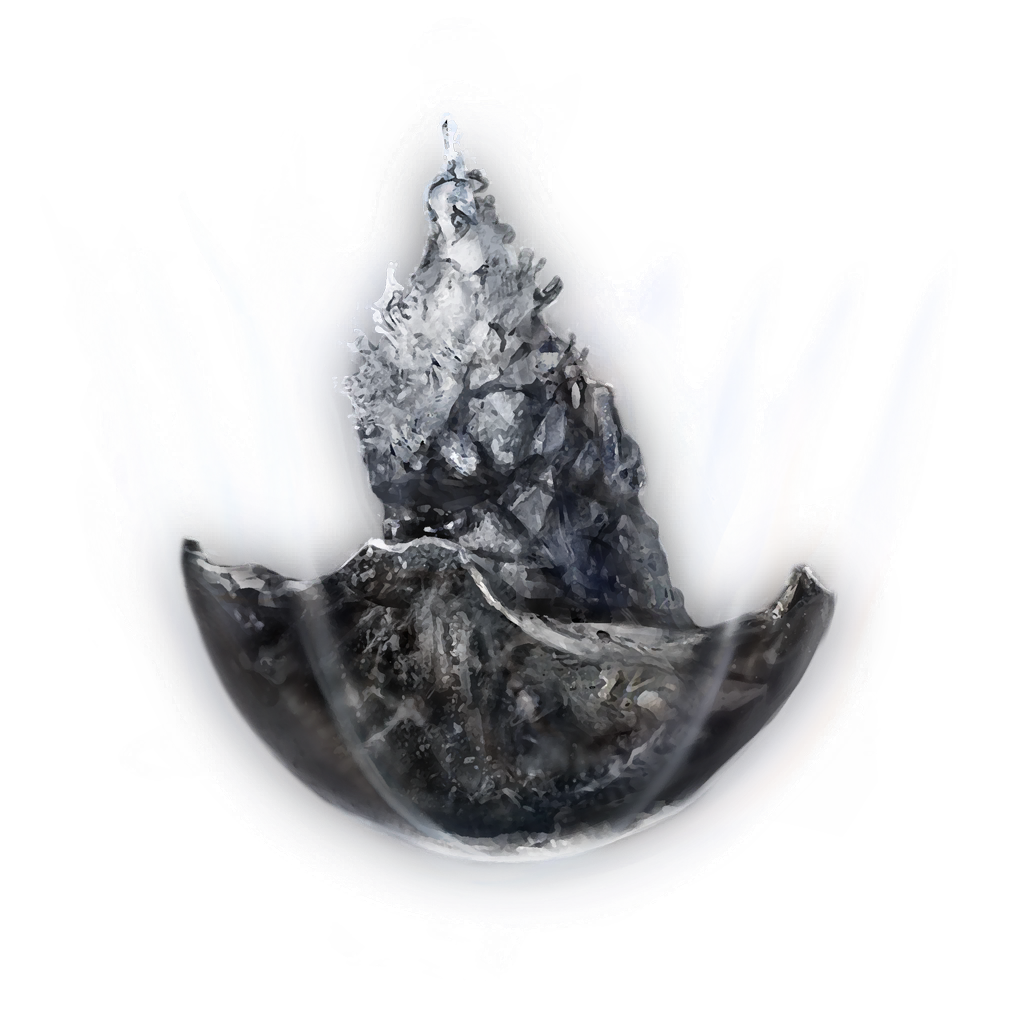 Stonebarb Cracked Tear
Allows your attacks to likely break enemy stance.
Viridian Hidden Tear
Provides unlimited stamina for 15 seconds.
Given the heavy weight of the Bloodfiend’s Arm and the high stamina consumption of the Savage Lion’s Claw Ash of War, the Viridian Hidden Tear’s unlimited stamina buff should allow you to repeatedly execute the weapon skill.
Best Great Runes To Pair With Bloodfiend’s Arm

Godrick’s Great Rune is by far the best Great Rune you can use when clearing challenging dungeons or fighting difficult bosses. This rune increases all your attributes by +5, which means additional damage buff for the Bloodfiend’s Arm.
Activating Great Runes in Elden Ring requires consumption of a Rune Arc , and the buff resets when your character dies.
However, you can also use Melania’s Great Rune if you’d like to heal back a portion of your lost HP. Even though the Savage Lion’s Claw gives you hyper armor, it does not prevent you from taking damage during the skill animation. Nevertheless, with Malenia’s Great Rune, you can heal back the lost HP as your attacks land on enemies.
Best Character Attribute Distribution For Bloodfiend’s Arm

The following attribute distribution is for a character at level 180:
Attribute
Level
With Godrick’s Great Rune
Vigor
42
47
Mind
20
25
Endurance
30
35
Strength
55
60
Dexterity
15
20
Intelligence
9
14
Faith
8
13
Arcane
80
85
With the above attributes, the Bloodfiend’s Arm, when held with both hands, deals a total of 1,410 raw damage and causes 204 bloodloss build-up, which is enough to inflict bleed status to most enemies with 1 to 2 hits — including elite enemies like the Black Knights and Horned Warriors.
But it gets better! Right after you inflict bloodloss on an enemy using this build, your damage output boosts to 1,861, allowing you to deal increased damage for the next 15 seconds.
With this build, you’ll have the confidence to take on most enemies in the DLC, clear dungeons with ease, and melt away boss HP.
If you have additional attribute points to spare, it’s recommended that you use them to level up your Vigor to 60 , and then dump the rest into Endurance so that you’re capable of using better armor.