Elden Ring: Shadow of the Erdtree introduces players to a wide range of new dungeons and catacombs. These self-contained regions usually act as a maze or long-form puzzle, leading to a special boss fight and unique reward. For the most part, these locations tend to stick to a fairly consistent formula, but there are some that serve a unique purpose. In Shadow of the Erdtree, the Darklight Catacombs are one such location. This guide will walk players through a complete guide to the Darklight Catacombs, which leads players to SotE‘s Abyssal Woods.
There are a ton of Scadutree Fragments in SOTE. Here’s how to find every single one of them.
How to Reach the Darklight Catacombs in Shadow of the Erdtree

Before players can explore the Darklight Catacombs, they’ll first have to make their way to Scadu Altus and the Shadow Keep. To reach Scadu Altus, players can either complete Castle Ensis and defeat ![]() Rellana , or use the shortcut that leads to the rear of the Fort of Reprimand. Once you have made it to the Scadu Altus, it is a simple trip north along the main path to Shadow Keep. At Shadow Keep, you’ll need to use the secret path that leads to the Castle Watering Hole Site of Grace, in the lower regions of Scadu Altus. To find the shortcut, follow these steps:
Rellana , or use the shortcut that leads to the rear of the Fort of Reprimand. Once you have made it to the Scadu Altus, it is a simple trip north along the main path to Shadow Keep. At Shadow Keep, you’ll need to use the secret path that leads to the Castle Watering Hole Site of Grace, in the lower regions of Scadu Altus. To find the shortcut, follow these steps:


Defeat the Golden Hippopotamus that guards the main entrance to the Shadow Keep.
Follow the main path until you reach the bridge with several raised fire pits that look like small boats.
Head to the end of the bridge, where you’ll find a ladder on the northeastern side, just before the final fire pit.
Take the small path along the water until you reach the waterfall. Head under the waterfall, then down the ladder.
In the chamber with the painting, look to the right, and you’ll see a clear space on the wall where you can clearly see the outline of an illusory wall. Hit the wall, and follow the path until you reach the stone coffin. Enter the coffin, and ride in it to the Castle Watering Hole.


From the Castle Watering Hole Site of Grace, you’ll want to ride south until you reach a waterfall. On the eastern side of the waterfall you’ll find a small cliff you can follow. The Recluses’ River Upstream Site of Grace will be right at the start of the path. Follow the cliff until you see a small gap on the right with a Fly-Man standing guard. Jump over the gap and stick to the path on the right until you come to a large group of Fly-men, with a drop behind them. You can see the Recluses’ River Downstream Site of Grace from the top of the drop. Head down and use the Site of Grace.


Facing south from Recluses’ River Downstream, there will be a cliff to the left of the Site of Grace, and if you look over the edge you’ll see several large tombstones protruding from the cliff face. As you look, watch out for the Fly-Man that creeps up from behind. You want to use the tombstones to descend the first river level. There, you will want to face south again, and use the tombstones on the right to descend to the second river level. When you land, you’ll see a waterfall to the south. Ride to the cliff on the eastern side of the waterfall to find one last set of tombstones. Use them to descend to the final level, then head east along the cliff to quickly find the entrance to the Darklight Catacombs.
Darklight Catacombs Walkthrough

Make sure to bring a 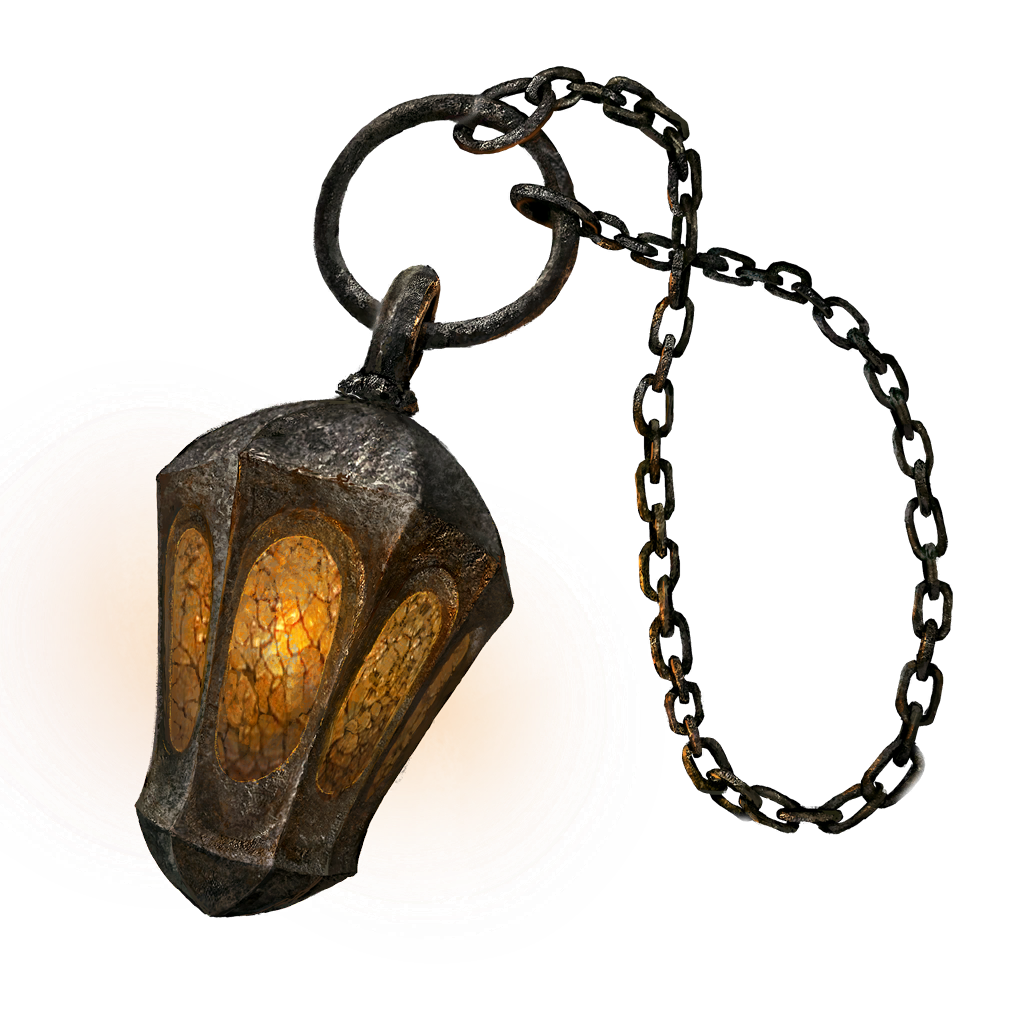 Lantern or torch with you into this dungeon. The Darklight Catacombs live up to their name, with much of the structure saturated in complete darkness.
All in all, the Darklight Catacombs are pretty straightforward. Compared to other catacombs and dungeons, there are far fewer secret areas and hidden items here. However, there are some moments that can prove tricky, and make a walkthrough extremely helpful. One of the key mechanics of this dungeon is found in the name ‘Darklight.’ Your first time through the catacombs, you’ll be switching on three sets of lights. These lights serve as perfect waypoints for breaking up the catacombs into three separate sections.
Reach Light Switch 1


After descending on the first lift, you’ll come to the first chamber. You’ll reach a  Yellow Fulgurbloom , which serves as the marker for the first turn. The item at the end of the chamber is a Grave Glovewort [5] guarded by a single Lion Imp that uses the
  Lizard Greatsword like a Pogo Stick. After grabbing the item, turn at the Fulgurbloom and descend the stairs. You’ll come to a railing with an opening on the left. Make a left, then another right at the next Yellow Fulgurbloom. The chamber will open up, and you’ll encounter two Lion Imps; one active and approaching you, the other, dormant against the wall on the right. Take them both out, then approach the edge of the floor ahead. You’ll see an exit up ahead, to the right, and a set of stairs to the left.
The first step is to go under the ledge, so descend the stairs, but be careful as you do, because there is a Bigmouth Imp that is hiding in the doorway up ahead. As soon as it sees you, it will launch an explosive projectile. Do your best to dodge it, then destroy the Imp. Now head back into the chamber, and go under the platform. You’ll come to a left turn that leads to the first lever. Pull it to turn on the first set of lights.

RELATED
How To Get Young Lion’s Set in Elden Ring: Shadow of the Erdtree
Defeat one of the toughest bosses in Elden Ring: Shadow of the Erdtree to claim the exclusive Young Lion’s Set — a desirable heavy-weight armor set.
Reach Light Switch 2
Viridian Amber Medallion +3:


From the first lever, turn around and head through the opening where you encountered the Bigmouth Imp. The chamber will open up, and you’ll encounter a railing on the right, and an opening on the left. The first hidden item can be acquired from this point. Look over the railing, and you’ll see a small ledge you can jump to. Head south along the ledge, then turn right and head west until you come to a break. Carefully fall through the break to the ledge below. You’ll land just below an opening that leads to a hidden chamber. Inside the chamber is a chest with 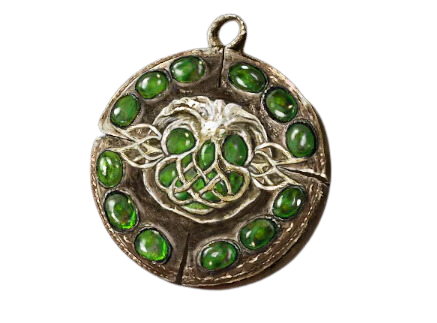 Viridian Amber Medallion +3 inside. Grab it, then drop to the skinny bridge path below.
If you head south, you’ll enter the chamber you just skipped. The only item inside is a single  Grave Glovewort [1] . It is guarded by an Inquisitor, who uses new spells that bounce off walls, and a single Lion Imp. Once complete, head north across the bridge and take lift two to the lower level.
Once you exit the lift, proceed past the first Stake of Marika and enter the next pitch-black chamber. If you are using the Lantern, or a torch, you’ll be able to make out that there is a chamber to the left, and a path along the right side of the wall that goes straight ahead. Otherwise, this massive chamber is pitch-black. The chamber to the left has a single Ghost Glovewort [2] , guarded by a Lion Imp on the ground, and an inquisitor on a ledge above that cannot yet be accessed. This inquisitor uses a spell that can reach you even if it can’t see you, so be extremely cautious, as they will continue to attack you even in the main chamber.


The main path is back in the main chamber, along the right side of the wall. Slowly descend the stairs, and you’ll encounter a fire-breathing Lion Imp on the left. Continue along the path, and you’ll see a chamber ahead, split in the middle by a large pillar. Continue along the right wall past the pillar, and you’ll see there’s another pillar behind it. If you go all the way to the rear wall, you’ll encounter a Bigmouth Imp hanging from the rear of the second pillar. Take it out, then head to the backside of the first pillar to find a ladder. Take a right at the top of the ladder, then drop into the chamber at the end of the path. You’ll find the second light-switch lever on the left, at the edge of the floor. Pull it to turn on the lights in the chamber.

Drop straight out the window where the lever is, onto the steps, and head up the stairs to the left. Make your way back to the first set of the stairs, and with the lights on, you’ll now see a ladder off to the right. When you get to the top of the stairs, look over the end of the railing, and you’ll see a small ledge you can jump to. From the ledge, make your way to the ladder, and at the top you’ll find yourself facing the previously inaccessible Inquisitor. Kill them, and collect the  Shadow Realm Rune [5] .
Death Knight Set:


From the Shadow Realm Rune, drop into the lower chamber and head back to the second set of stairs, right where you landed after dropping from the second lever. Head to the top of those stairs and you’ll see a small gap in the railing. Drop through this gap and land on the small ledge below. This will take you to another hidden chamber. As you enter, turn right and immediately run to take out the inquisitor at the end of the chamber. Then turn around and walk back. You’ll see a Lion Imp hanging from the ceiling above the entrance, and a dead body with a glowing item marker. This is where you find the 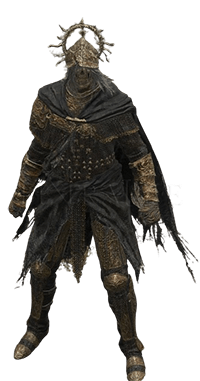 Death Knight Set .
After collecting the armor, head back to where you fought the Inquisitor. You’ll see a ladder that will take you down to a lower level. Don’t worry about the section of the main path you are skipping here, as there is nothing of consequence. At the bottom of the ladder, head through the chamber opening, and you’ll encounter another Inquisitor, usually on the right. Kill them, and grab the  Ghost Glovewort [9] on the same ledge. Drop to the lower level, and proceed east to the third lift.
2:02
This guide will help players find the Chief Bloodfiend, an optional boss in Elden Ring: Shadow of the Erdtree that awards a Spirit Ash.
Reach Light Switch 3
Giant Bigmouth Imp:


Make sure you do not kill the Giant Bigmouth Imp until you lower its platform. The Imp drops a very useful item, and if you kill it too early, the item will float above the ground, making it impossible to grab. Dodge the Imp’s projectiles until you reach the lever that lowers it.
At the bottom of the third lift, you’ll enter another dark chamber. In the distance, you’ll be able to make out some kind of massive object. It won’t be until the objects’ head begins to glow that you’ll know what it is: a massive Bigmouth Imp, far bigger than the others you’ve encountered. The Giant Bigmouth Imp is on a platform that you will eventually lower, so do not kill it with a ranged weapon or spells/incantations. The item it drops will not be lowered with the platform. If you accidentally killed it, try returning to a site of grace and killing it again, as it respawns.
As you approach the Imp’s platform, you will encounter two Lion Imps at its base. Take them out, then turn left and head north into the chamber with two torches in front. The third light-switch lever is found inside, and it is also the lever that lowers the Imp’s platform. The Giant Bigmouth Imp seems to have the same health as its smaller twins, so it is very easy to kill.
If you head back under the ledge where where you entered, you’ll encounter a Bigmouth Imp, and a  Ghost Glovewort [8] .
Bigmouth Imp Ashes:

After killing the Giant Bigmouth Imp, drop off the back of its platform, and you’ll find a chest inside a small chamber. The chest contains the  Bigmouth Imp Ashes . Take the ladder out of the chamber, and follow the hallway at the top. Near the end, a Lion Imp will attack. Drop out of the opening onto the stairs below. Before descending, turn around, and you’ll see an item on a dead body at the end of the path. This is a
  Ghost Glovewort [4] .
Head back to the stairs and descend to reach the final lift.
2:57

RELATED
Elden Ring: How To Get Clarifying Horn Charm +2 In Shadow Of The Erdtree
The Clarifying Horn Charm +2 greatly improves resistance against sleep and madness status buildup. Here’s how you find it in Shadow of the Erdtree.
Jori, Elder Inquisitor

At the bottom of the elevator, you’ll encounter the boss chamber. Here, you’ll find Jori, Elder Inquisitor. There does not appear to be any gold summons signs for this fight, so you’ll have to rely on Spirit Ashes should you need help. Jori is a formidable foe, who uses Golden Arcs to great effect. You should focus on using any type of holy-damage negation at your disposal. If you have the  Golden Braid Talisman, use that. The Haligdrake Talisman +2 will suffice if not. Defeating Jori will earn you the
  Barbed Staff-Spear , and 260,000 runes.
After the boss fight, you’ll notice there isn’t the usual ‘return to entrance’ mechanic that you find in most dungeon boss chambers. This is because you are now at the entrance to the Abyssal Woods. This region is overcome by Madness, and is incredibly dangerous. Unlock the new Site of Grace that becomes available, and you can return whenever you are ready.